flask框架功能也是比较多,那么今天就讲一下在挡板上的应用。首先说一下什么挡板呢,这个词一般在性能测试中比较常见,就是完整的测试环境没有搭完,或者测试的成本很高,比如发送短信等。那么就需要模拟一些没有搭或成本高的的功能,这就可以用挡板来做,直观的说就是模拟真实的环境。
咱们对挡板也是有了一定的了解,那么具体怎么搭建呢,接下来就跟着我,搭建一个简单的挡板
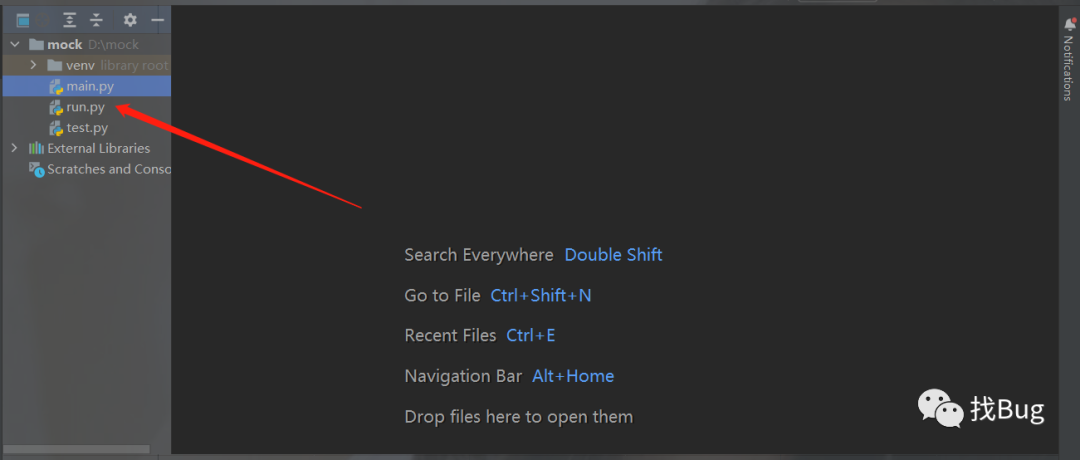
一、打开python编辑器,这里呢我使用的是pycharm,创建一个工程,叫什么都可以,在里面建一个run.py

编辑
二、编辑代码,这边需要有flask基础的同学, 如果没有的话可以看看我之前发的关于flask框架的基础知识
from flask import Flask, session, request, redirect, url_for,Response, jsonify
import json
import time
app = Flask(__name__)
# 定义接口路径
@app.route('/api/login', methods=['post', 'get'])
def do_login():
    # 判断请求的方式是post还是get
    if request.method == "GET":
        fail = {
            "timestamp": (time.asctime()),
            "error": 1
        }
        # get请求的话返回fail数据
        return jsonify(fail)
    # post请求的话返回success数据
    else:
        success = {
            "data": {
                "user_info": request.get_json()["user_info"],
                "password": request.get_json()["password"]
            },
            # 时间戳
            "timestamp": (time.asctime()),
            "success": 1
        }
        # 返回json形式的数据
        return jsonify(success)

if __name__ == '__main__':
    app.run(debug=True)
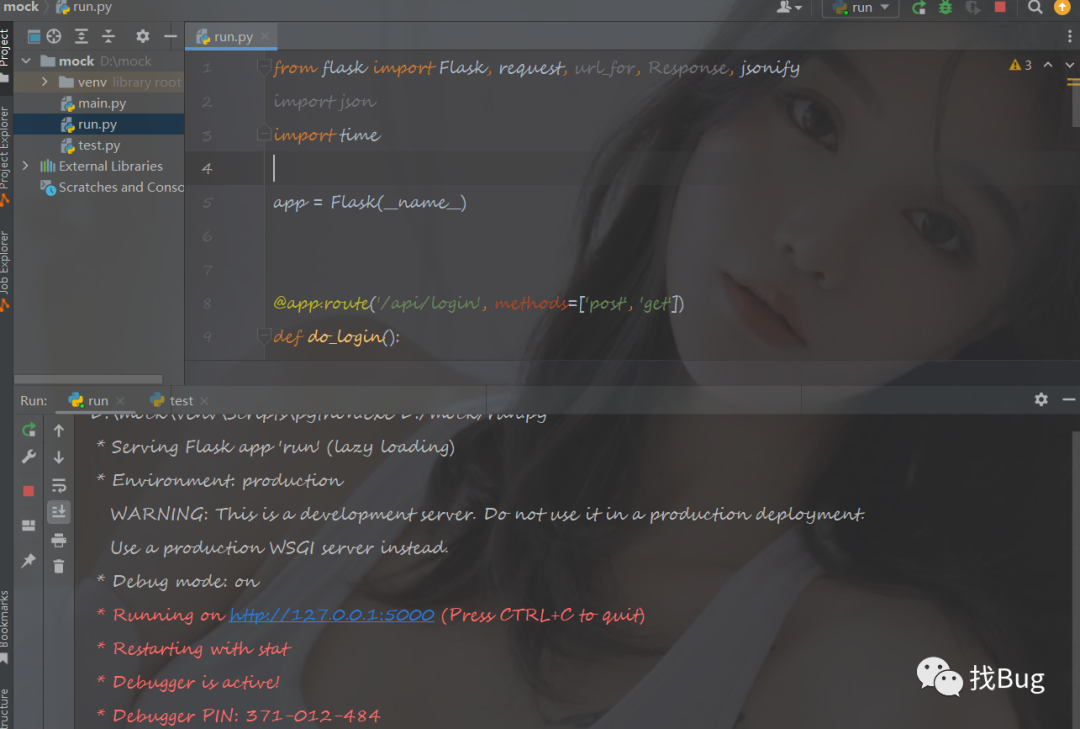
三、运行代码

编辑
好了,这样一个简单的挡板服务器就可以了,其实很简单,相比正式业务来说没有复杂的业务处理的过程,就是简单的模拟返回报文的过程,接下来咱们用requests来测试一下,看效果怎么样
新建test.py文件

编辑
里面写上代码
import json
import requests
# GET请求
# requests.get(url, params=None)
# POST请求
url = "http://127.0.0.1:5000/api/login"
data = {
    "user_info": "xiaoli",
    "password": "123456"
}
# 请求头,这里发送的是json数据,所以要选择以下形式
headers = {'Content-Type': 'application/json'}
# 将普通的字典类型转换成json类型
data_json = json.dumps(data)
# 其中data参数就是发送的数据,也就是咱们的json类型数据
res = requests.post(url, data=data_json, headers=headers, json=None)
print(res.text)
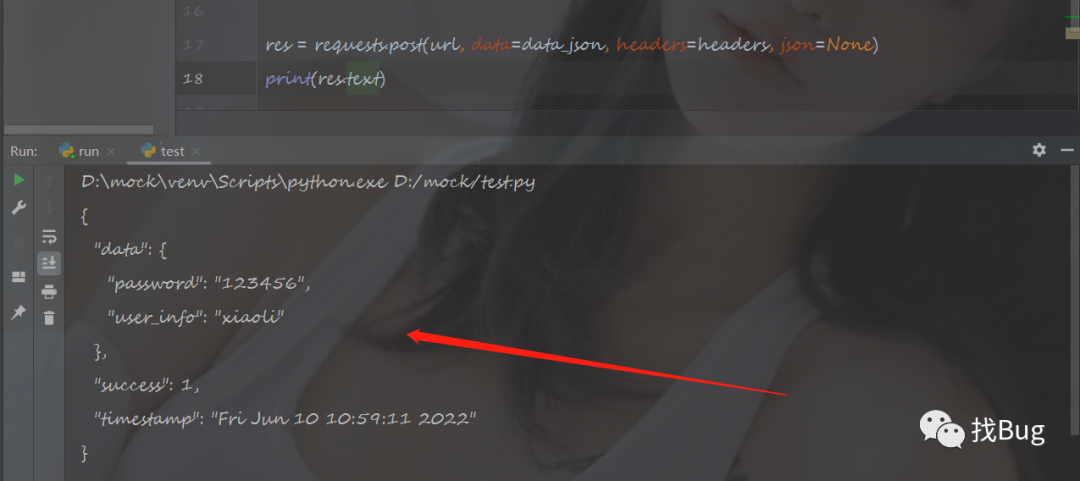
下面运行,一下爱,看一下返回结果

编辑
出现以上的返回内容就说明咱们的挡板配置成功了。这样咱们就可以根据需求返回指定的返回内容了,具体就是在这样的基础上修修改改就可以了
When I initially commented I clicked the “Notify me when new comments are added” checkbox and now each time a comment is added I get three emails with the same comment.
Is there any way you can remove people from that service?
Thank you!